Table of Contents
Method Statement for Suspended Ceiling Installation
Introduction
The goal of the method statement is to explain the efficient and safe method of work to be followed in order to accomplish the acoustic ceiling installation safely and efficiently, as well as the preventative steps used to safeguard employees and existing facilities.
Scope of Work
To design a Standard Operating Procedure (SOP) for the installation of acoustic ceiling finishes, it is the company’s policy to ensure a safe and healthy workplace.
The following procedure must be followed in locations where an acoustic ceiling will be placed for whatever reason.

Reference Document
- Health & Safety (H&S) Construction Minimum Standard
Essential Plants and Tools
- Grinder
- Measurement tape
- Square Spirit Level
- Standard or laser level
- Cordless Drill
- Hammer
- Drilling Bits
- Pencil
- Tin cutters
- Line of string
- Cordless staple gun
- Knife
- Pliers for punching
Materials Requirement
- Suspension of the ceiling system components approved by the engineer and/or the client
- Acoustic ceiling tiles/panels as specified by the engineer and/or the customer
Standards and References
- Project Specifications
- ASTM C – 636 Acoustic Ceiling Panels Suspended
This Method Statement for Suspended Ceiling Installation falls under the category of Architectural Works.
Work Procedures and Methodology
Mock-up
- Before proceeding with installation, provide a mock-up of a full-size acoustic ceiling system with two exposed color and texture samples to be expected in the final work.
- The installation of stone flooring will not begin until the mock-up is authorized and approved by the Engineer and/or the customer.
- Each exposed runner and molding sample is 600mm long.
- Submit coordinate shop drawings with grid layout and dimensions, connections with other work or ceiling finishing positions, mechanical and electrical items, and expansion joints.
- Please submit the manufacturer’s installation instructions (datasheet).
Delivery, Storage, and Handling
- Deliver acoustic ceiling units to the project site in their original, unopened packaging and store them in a completely enclosed place where they will be protected from moisture, direct sunlight, surface contamination, and other causes.
- Handle acoustic ceiling units with care to avoid chipping edges or otherwise harming the units.
- Damaged tiles will be rejected.
Limitations
- Ensure that no acoustical ceilings be installed until the building has been enclosed, all dust-generating activities have been completed, and all overhead work has been completed, tested, and approved.
- Maintain the temperature and humidity levels in the environment within the manufacturer’s specifications during and after installation.
Examination / Preparations
- Areas scheduled to receive suspended acoustic units must be inspected for unevenness, irregularities, and wetness that might impair the quality of the work.
- Before commencing installation, access provisions must be marked in terms of size and placement.
- Acoustical ceilings should not be put above any work, including mechanical and electrical work, that requires inspection until all work is completed.
- Layouts must be completed for inserts, clips, or other supports that will be put by other trades to support the acoustical ceiling.
- The ceiling area must be measured/surveyed in order to determine the arrangement of acoustical units in order to balance border widths at opposing sides of each ceiling.
- Less-than-half-width units at borders must be avoided, and mirrored ceiling plans must be followed whenever practicable.

Process of Installation
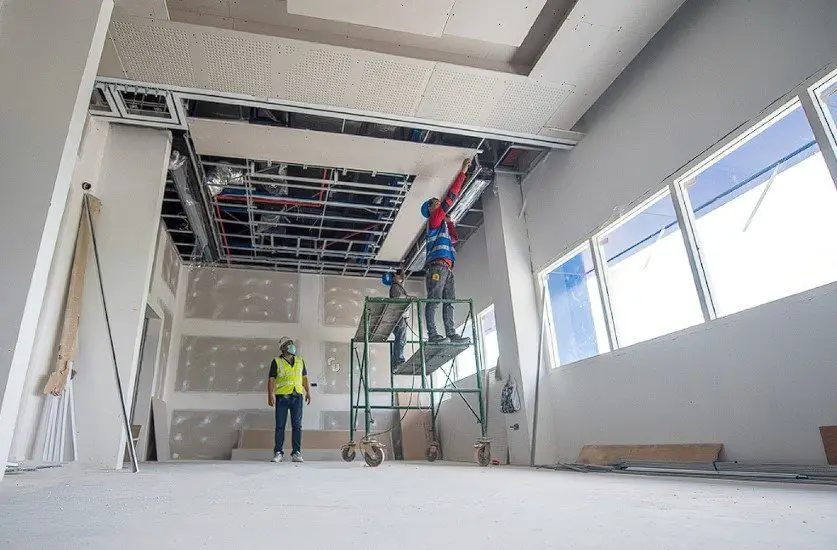
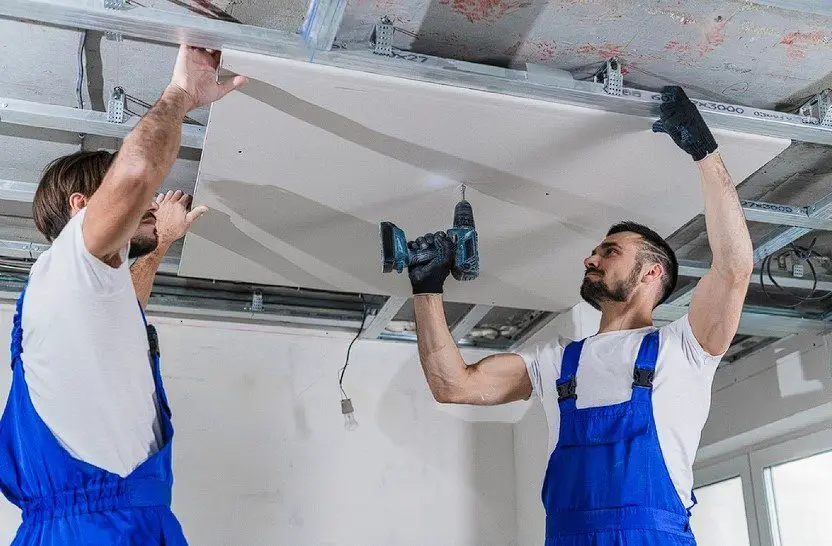
- The acoustic ceiling system must be installed in accordance with the manufacturer’s recommendations, project specifications, and approved shop drawings.
- Suspension systems must be erected using just building members as support. Hangers must be located no less than 150mm from each end and spaced no less than 1.2m apart along each carrying channel or runner. The spacing of hangers, carrying channels, and runners must be matched with the position of MEP fixtures, and hangers must splay where necessary to avoid obstacles.
- Additional supplement framing and supports must be supplied if the ceiling is suspended below ducting, pipes, or other building elements that are not appropriate for ceiling attachment.
- Hangers must be spaced no more than 1.2 inches apart and fastened to the hanger inserts above.
- Carrying channel grid runners must be installed on 1.2m centers, connected to hangers, and leveled.
- Cross-channel grids must be inserted between main channel grids, flush cut, and secured to longitudinal channels.
- All exposed acoustical ceiling unit surfaces must be level and flush, with all seams straight and true.
- Light fixtures and other components must be cut and fitted neatly.
- During installation, replace any damaged tiles.
- Layout pattern in accordance with the approved plan’s reflected ceiling.
- Tolerance for ceiling suspension system leveling is 3.2mm 3.67m.
- Corners should be mitered precisely and firmly connected. Suspended Ceiling Installation Instructions
Adjusting and Cleaning
Clean the exposed surface of the acoustical ceiling.
Repair scratches, abrasions, voids, and other flaws in painted surfaces according to the manufacturer’s instructions. Ceiling Works Method Statement Units that cannot be cleaned or repaired must be replaced.
Access and Egress to Work Areas
- All personnel who enter the areas must do so through the entry points supplied. Only authorized personnel will be granted access to the sites.
- Before entering the area of operation, all staff will go through the health and safety introduction. Employees will only be provided access permissions when they have completed their induction.
- Access and egress onto the rear of any vehicle or trailer will be through a ladder fastened to the truck or trailer’s side.
Controlling Health and Safety Risks
- Before beginning any activity, ensure that the work permit and any accompanying documentation, such as RAMS, are signed and approved.
- Approved RAMS will be made available on-site, and job-specific dangers and controls will be explained to all individuals participating in the job.
- Ascertain that every PPE is evaluated for job applicability, constraints, capabilities, and compatibility with other PPE.
- Approved RAMS will be made available on-site, and job-specific dangers and controls will be explained to all individuals participating in the job.
- Ensure that staff has received manual handling training.
- Use mechanical devices to avoid needless heavy manual handling of materials.
- Prior to beginning any job on site, all staff must get a safety induction/training.
- Job supervisors must have a pre-job STARRT/TBT meeting to inform workers about job-specific dangers.
- Conduct a site examination to verify proper access/egress for job operations. Maintain a clean working environment.
- There is lone working allowed.
- Maintain adequate housekeeping in the workspace.
- Use the proper tools for the job. Do not utilize a tool or accessory for a task for which it was not designed. Ensure that tools are inspected by a competent person and that a record is kept. Color-coded as needed.
- When necessary, rigorously adhere to the LOTO “Lockout/Tagout” procedure.
- Only a competent/authorized individual should be entrusted to the assignment.
- The construction and SHE teams must remind the site employees of emergency evacuation routes and procedures on a frequent basis.
- Understand the emergency response procedure.
- Any route impediments must be eliminated.
- On-site emergency contact lists must be posted.
See also:
Method Statement for Ceramic Floor Tiles
Method Statement for Cement Plastering
Method Statement for False Ceiling
tag: # Method Statement for Suspended Ceiling Installation

