Table of Contents
What is the Method Statement for Raised Access Floor Installation?
The Method Statement for Raised Access Floor Installation outlines the systematic approach to installing a raised floor system, ensuring that installation conditions, substrate preparation, alignment, leveling, panel fitting, and safety measures are meticulously addressed. It delineates the sequential installation of pedestals, wall connection tape, panels, and stringers, along with checks for alignment and leveling using engineering tools like water levels and adjustment nuts.
The method statement underscores adherence to manufacturer guidelines, compensating for panel tolerances, and integrating with other construction elements. It also emphasizes risk assessment and quality control measures as per engineering standards and project specifications.
The objective of this procedural document is to delineate the essential materials and labor prerequisites for executing the Raised Access Floor installation in a secure and regulated manner, in accordance with pertinent laws, benchmarks, and established codes of engineering practice.
This method statement will be communicated comprehensively to all pertinent personnel to guarantee their familiarity with the progression of work and any site-specific prerequisites.
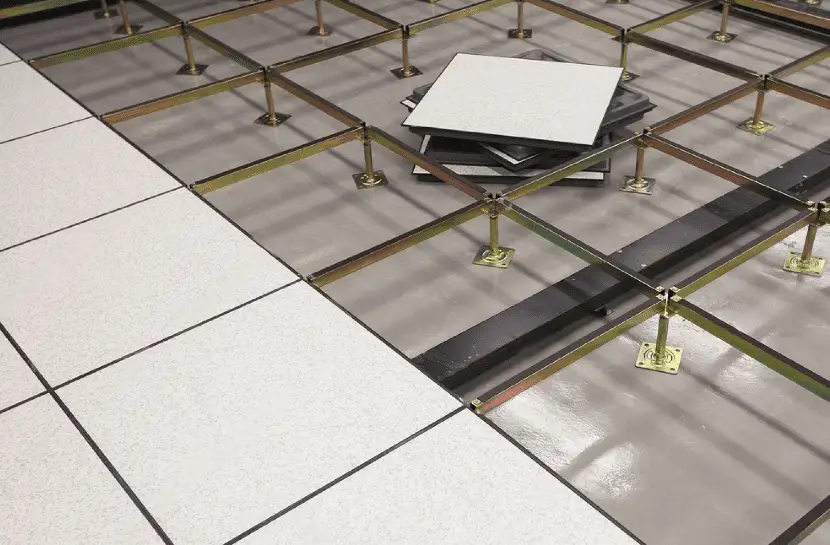
General Approach
Before the commencement of the construction activities, the Site Engineer will confirm the finalization and approval of the following tasks, which will be validated by the Consultant.
The construction drawings must have received formal approval for implementation from the Consultant.
The Site Engineer shall ensure the receipt of all requisite approvals from relevant Statutory Authorities.
Materials Used
Calcium Sulphate Panels for Raised Flooring
Round Head Pedestals with a Finished Floor Height (FFH) of 500mm
Stringer Components
Galvanized Iron (GI) Through Bolt Anchors
GI L-Angles
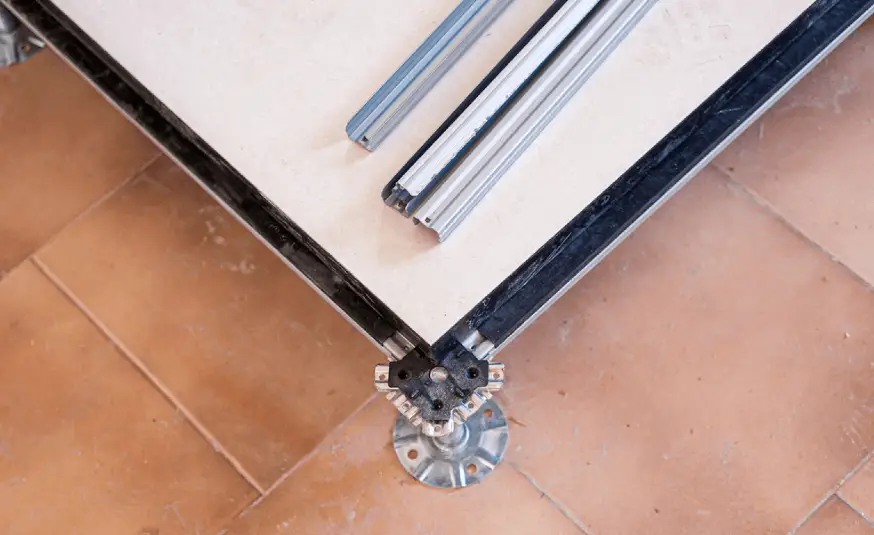
Setting Out and Installation Procedure
Commencement of the installation is permissible only when the installation-conducive climatic conditions are achieved and the façade is enclosed.
The substrate beneath must exhibit qualities of dryness, uniformity, solidity, and freedom from fissures, indentations, and chemical residues (such as grease and oil). The overall drying process should be such that significant shrinkage is not anticipated any longer.
We generally advise treating the substrate with a dust-proof, adhesive primer to ensure optimal bonding of the pedestals. The substrate must be cleaned using a broom or vacuumed to eliminate debris.
The substrate should possess adequate abrasion resistance. Any loosely bonded layers of fine mortar or detached fragments must be removed prior to installation.
The substrates must demonstrate sufficient load-bearing capacity to accommodate all anticipated loads while adhering to the specified levelness tolerances.
Rectangularity of the room must be verified to prevent the need for small custom panels.
Before installation begins, floor areas must be appropriately segmented and arranged to prevent conflicts between pedestals and existing services such as cable trays. Close coordination with the Mechanical, Electrical, and Plumbing (MEP) team is necessary to avoid obstructions and ensure proper pedestal alignment by marking reference lines before installation.
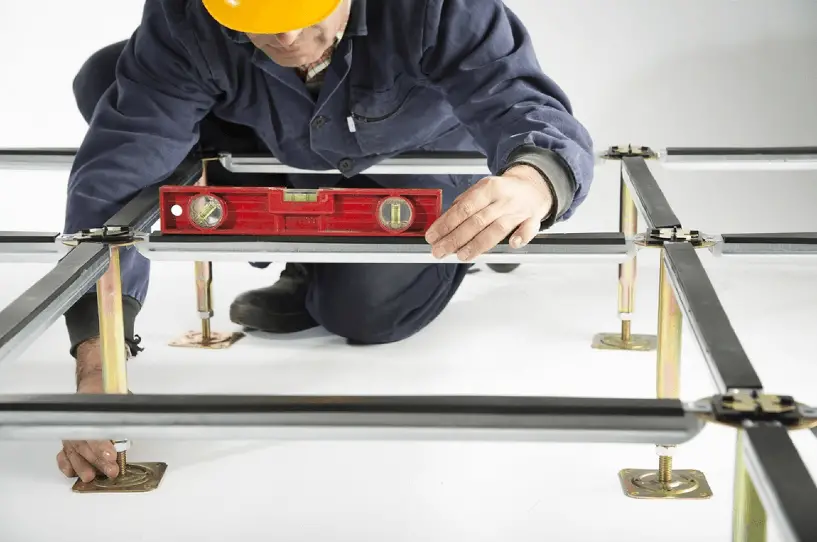
Cut or recessed panels must be adequately supported using pedestals and/or profiles.
A sealing tape (wall connection tape) should be applied at all upwardly extending building elements wherever it is deemed necessary.
Position the pedestal at the reference point after turning it around. Level the pedestal to the required height using a leveling instrument such as a hose leveling instrument, leveling device, laser, or similar tool.
Note: Account for the thickness of the panel when making adjustments.
Allow the pedestal to dry in accordance with the manufacturer’s instructions for the pedestal adhesive.
Address significant irregularities using wedges.
Adjust the raised floor pedestals to align with the first raised floor panel.
Execute the Installation of Two Additional Raised Floor Pedestals:
Position the two additional raised floor pedestals according to the specified grid dimensions and align their heights by adjusting the adjustment nut.
Apply the wall connection tape along necessary locations and affix it with the adhesive side flush against the upper edge of the raised floor panel (for corner panels, apply on two sides).
Trim the wall connection tape to match the edge length of the panel.
Position the reference raised floor panel onto the installed raised floor pedestals.
Install a pedestal at the corner that is currently unsupported.
Adjust the pedestal’s height using the adjustment nut.
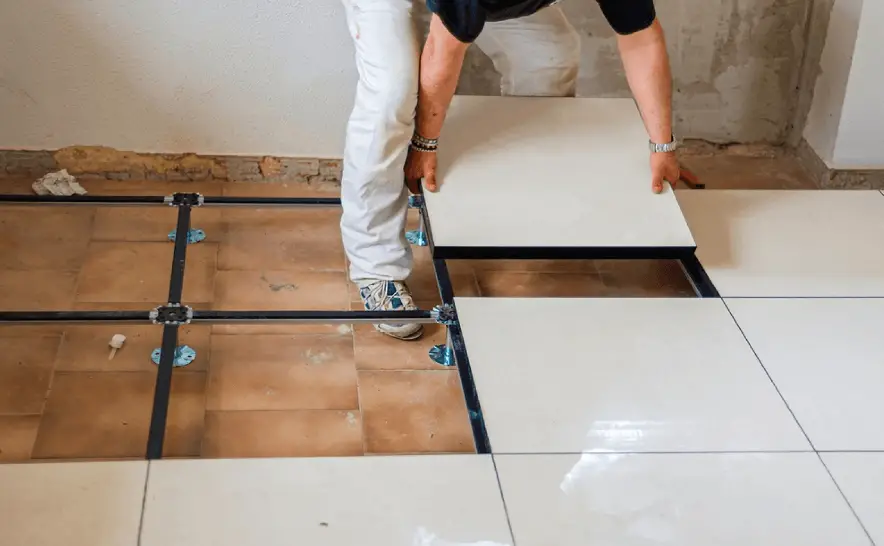
Verify and, if needed, make adjustments to the reference panel’s alignment in both directions using the raised floor water level.
Recheck the height leveling to the reference point and readjust the pedestal if necessary.
Establish a guideline for the installation of the first row of panels, ensuring parallel alignment with the wall or the first panel.
Confirm the alignment of the established guideline.
Proceed to install additional raised floor pedestals and panels within the first row.
Check and, if necessary, adjust the installed panel’s alignment in both directions using the raised floor water level.
Compensate potential panel tolerances using aluminum pads.
Measure the dimensions of the cut panels to determine the required panel format.
Mark the necessary dimensions of the cut panel onto the raised floor panel, indicating the cutting line.
Gently and carefully insert the cut panel into the raised floor grid, applying slight pressure.
Inspect the panel for proper seating, any shifts in height, height tolerances, and make necessary adjustments.
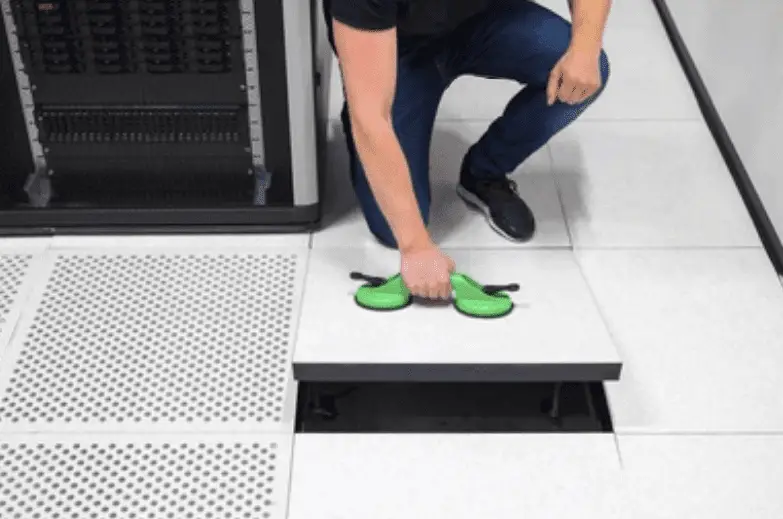
Stabilize the pedestals to prevent any displacement in height.
Introduce the stringer at the head of the pedestal.
Refer to the Risk Assessment Template for Raised Access Floor.
Consult the Checklist Template for Raised Access Floor for further guidance.
tag: # Method Statement for Raised Access Floor Installation

